You may recall I have been working on getting my pocket hoops to do their job and stop collapsing with so far not great results. The problem was I was trying to use industrial zip ties for boning (which works great for corsets and is budget friendly!). The zip ties just didn’t have the strength to keep the hoop’s shape under the large weight of my skirts though. Sometimes it is worth it to spend the little bit extra for better materials.
Metal boning, so much stronger than zip ties.
You can actually buy a roll of metal boning online for not that much, so while it isn’t quite as cheap as zip ties, it is still a very budget friendly option.
I took the time to carefully remove my old boning and replace it with the new and my hoops are so much stronger now! I can feel the difference when they’re on and can press on them with my hand without them collapsing unlike my old ones.
Nice and strong now!
I immediately hurried to put on my dress and all the layers to test them out and they worked great! My Sac Back Gown made from the Colonial Williamsburg fabric now has wonderful shape it’s supposed to have, now I just need a ball to wear it to.
The dress with the new and improved pocket hoops. Wonderful shape now!
Sometimes all your outfit needs is a quick fix to give it a little boost. Don’t give up, you’ll find a solution eventually.
The table clothes I am using for the fabric of my RAD dress came in and they are massive! I knew I was ordering table clothes that are 156 inches long, but I didn’t realize how large 156 inches was until I saw it in person. It’s the yardage I need, but folding that much fabric is a pain in the butt. For perspective, I am about 5’10” tall so this fabric is two and a quarter of me tall. It is A LOT of fabric.
If you need lots of yardage of fabric for cheap, buy giant table clothes. They are great.
The color and stripes of the pattern look perfect and I am so excited that I found this. Stripes do mean you have to be extra careful when cutting out your pattern pieces though to ensure that all the stripes are going the direction you want. It sounds fairly easy, but can be quite tricky when you are trying to get stripes to match up at certain seams.
My pretty fabric just waiting to be cut.
I think this pattern took me the longest to cut out of anything I’ve ever made. I legitimately took an entire day to cut this out, taking a few breaks to eat/remain sane. My pattern (McCall’s M7826 by Angela Clayton) has a lot of pattern pieces and I had to change some of the grain lines to make sure my stripes matched up. It involved a lot of thinking in three-dimensions, hence why it took me so long. I also wanted to make sure my pattern pieces mirrored each other with where the stripes were on the fabric. Just lots of thinking, but taking your time at the cutting stage makes sewing much easier later on.
For the lining I used scrap fabric from my fabric bin so I could save some money. Luckily that didn’t have any stripes to match up to I could cut them out kind of any direction I wanted. The lining is mostly linen, but I didn’t have quite enough so there’s also some random cotton in there. No one sees the lining so I really didn’t care if it matched, and historically many women also lined their clothes in scrap fabric so you can sometimes find examples of historical garments with some funky un-matching patterns on the inside. Waste not, want not.
Cutting the lining.
I didn’t start sewing until the next day since it took me so long to cut out everything. The pattern itself is coming together pretty quickly as long as I pay attention to the directions. It’s not an easy pattern, but I wouldn’t call it hard either. It just has a lot of pieces to think about. I only did have to seam rip and resew the seams at the front yoke a few times in order to get the stripes to match up nicely, but it was worth the extra time because now they match up!
Progress shot of the bodice with the lining.The front of the bodice.
I’m really happy with how it’s turning out and I can’t wait to make the rest of the dress! Next up will be making the sleeves for this then I can move on to the skirt!
Remember, slow and steady wins the race, and makes you a beautiful ballgown too.
I cannot wait to make the Rose-Adélaïde Ducreux dress (from now on abbreviated to the RAD dress for the sake of less typing) but before I can begin work on the dress itself, I need to get all the correct undergarments. The portrait was painted in 1791, so I have most of the correct undergarments already.
A reminder of what this beautiful portrait looks like. This is from the MET museum.
Her chemise, corset, and petticoats would be the same as the ones I already have from some of my other 18th century projects, but the support garments would be different. You can see in the portrait that there is more poof is the back of the gown than the front or sides which means she is wearing a bum pad or false rump. And thanks to the American Duchess Guide to 18th Century Sewing book, I know that Italian gowns (which this is) would have had split rumps.
This is a picture of a picture in my American Duchess book of a split rump.
The split rump is split like that so the pretty back panels of a woman’s dress will lay flat against her back while still having the padding in the back to give you the volume in your skirts that was fashionable for the time.
Originally I was thinking maybe I could get away with using the massive bum pad that I already have so I wouldn’t have to make a rump, but the shape was all wrong. It gave me the right look in profile, but it adds bulk to my hips at the side which is wrong for this style of gown.
Good profile…But wrong from the front.
And so I embarked on making my false rump. The instructions in my American Duchess book were very easy to follow and I just used some scrap materials I had lying around so it came together quite quickly.
Progress shot if the rump.Stuffing with fabric scraps.
I decided to stuff my rump with some of the small scraps I have precisely for this reason. I was feeling very proud of myself and eco-friendly until I put the rump on. Unfortunately, stuffing with fabric scraps made my rump way too heavy so it wasn’t very comfortable and it was droopy and sad looking which is not what you want in a support garment. Historically, these would have been stuffed with feathers or cork because they are light which means you don’t get a heavy, sad looking rump like the one I made.
Sad rump.
This was an easy fix though and I ended up using poly-fill to finish it up. I didn’t actually take a picture of the finished project but it is much less sad looking now, and much more comfortable. I did take a picture of the sad version with my petticoat on which at least gives you an idea of how the rump works with a skirt on.
Now the undergarments are done and I am ready to move on to this amazing dress! I can’t wait!
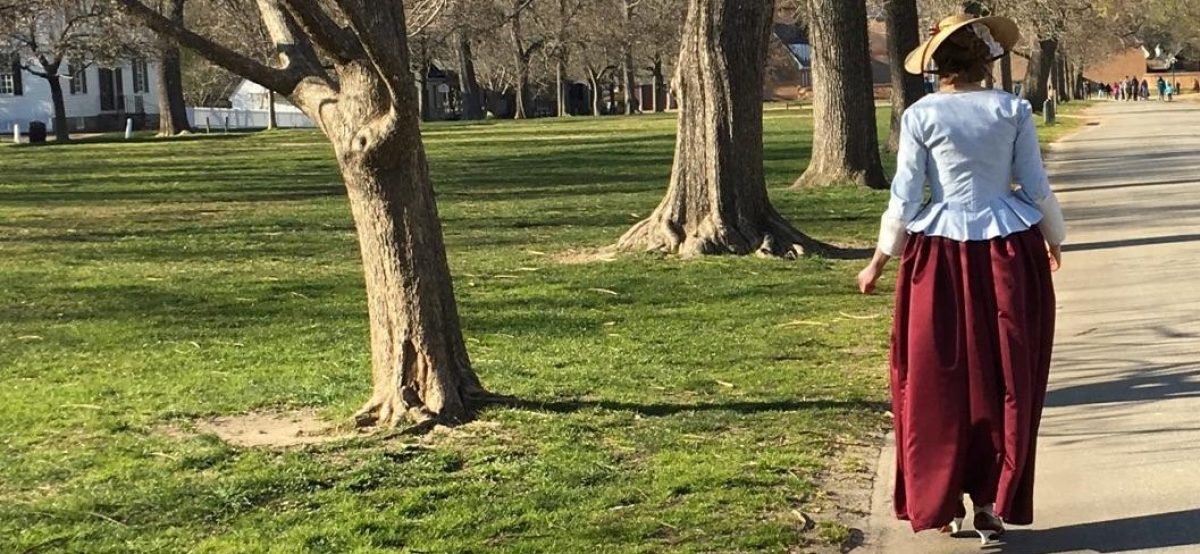
Happy fourth of July! I hope you get to spend the day with family and friends today! I’ll share a quick picture with you as a tribute to our founding mothers. This is from when I visited Colonial Williamsburg a while back. And the outfit is even coincidentally red, white, and blue! Very patriotic!