Linen, linen, and more linen!

There was a big sale on linen back in March or April so I went to the fabric store and quite literally bought it by the bolt. 100% linen is a more expensive fabric, especially compared to my normal recycled bed sheets, but it is the king of all fabrics in my opinion. Not only is it actually historically accurate, it also is a natural fiber which means it is breathable and cool in the summer months. The more wash linen, the softer it gets so it makes great shifts and petticoats, and it’s also incredibly strong and durable so it will last a lot more wears than other fabrics. Like I said, king of the fabrics.

Part of costuming on a budget sometimes means I use less desirable materials because they are cheaper, but another great way to keep in budget is just to wait for sales or use coupons. This isn’t a groundbreaking tip, but it really makes a difference.

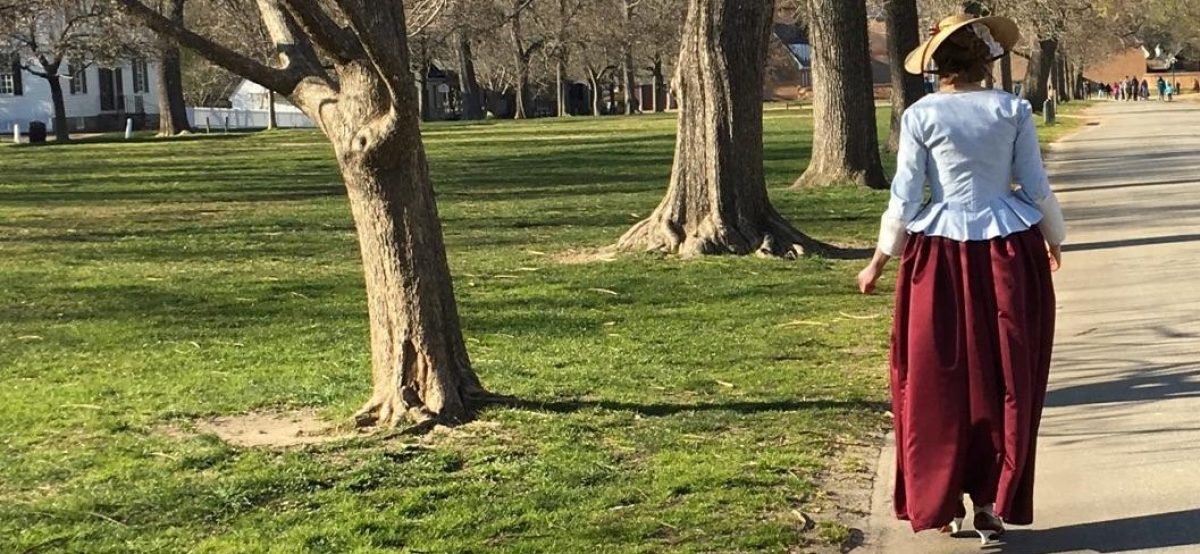
So with my yards and yards of newfound sale linen, I got to work. First, I made myself two new shifts and an 18th century petticoat because these are things I needed made out of linen the most. My previous shift and petticoat were made of a poly/cotton blend which meant that they were really hot to wear in the summer. I still kept them, despite their polyester-ness, because they still work on days that aren’t as hot and it is always nice to have extra!

I made the shifts without sleeves, which is not accurate for the 18th century. I decided not to go for accuracy though so that I could use the extra fabric for other projects and also so I could make an “era-neutral” shift. Shifts or chemises are used in all historical eras and while they did change slightly overtime the basic idea stayed the same so I wanted something that I could easily use with any of my historical costumes. 18th century shifts have sleeves, but Victorian ones don’t, so I just left the sleeves off. Since the shift is the bottom layer of clothing no one sees it so I don’t mind this glaring inaccuracy for some eras.

From there I started making Edwardian undergarments to go with the corset I had just made. For the Edwardian era I needed a corset cover and a petticoat. A corset cover is basically a top which goes over the corset to help smooth out the hard edges of it so you don’t see them through the gown and an Edwardian petticoat is shaped very differently from the 18th century petticoats I have so I couldn’t reuse what I already had.

For the corset cover, I went for what is historically known as a handkerchief corset cover. It was called this because women could quite literally use large handkerchiefs to make some of these. Basically you cut the fabric (or handkerchiefs) into large triangles and connect those with some pretty insertion lace to make a kind of tank top shape.

Cutting the triangles
Adding insertion lace

I then put some hooks and eyes on the front for closures and it was done! It’s a simple corset cover but it does the job and I am very happy with how it turned out.

The front…
back….
and side of the corset cover. These show off the lace nicely.

Sadly, I didn’t take any photos of the process of making the petticoat, mostly because I was just winging it. I didn’t have a pattern and decided that it looked simple enough so I just kind of went for. I didn’t right anything down so I don’t know if I could ever remake it but I remember I basically cut some very large and skinny triangles so make a kind of skirt shape. It was a very inexact science but it worked and I am happy with the result.

Now happily clad in my linen I was was almost ready to finally wear my antique dress and see what it would have looked like on someone more than 100 years ago. The big reveal coming soon!

Love always,

Victoria

Frankendress: The Petticoat and Hoop Skirt

The slow progress of Frankendress continued. Back to the safety of fabric instead of unconventional materials (see my last post if you want to see)! The next step to my project was the hoop skirt. Now 1865 is really beautiful and unique because they elliptical hoop skirts, that means they’re somewhere between a hoop skirt and a bustle. They were the transition and I think they’re just gorgeous. You feel like a real princess in them (or like Queen Victoria).

My journal entry for the hoop and petticoat.

Because the point of Frankendress is being cost efficient, I was not going for historical accuracy here. Historical elliptical hoops skirts are really expensive, even if you make them yourself, and they’re quite advanced. My solution was to buy the largest hoop skirt I could find on Amazon and alter to make it the shape I wanted. I did this through adding a bum pad underneath the skirt to lift the back upwards, and through sewing in ties on the inside to squish the sides in. It actually worked really well, and since it’s convertible, I can use the hoop as a round hoop too if I ever need to.

The hoop itself is 180 inches in circumference, so it’s very large. I can sit underneath it comfortably like it’s a tend.

The gorgeous fluffy petticoat!
A back view of more fluff
Nice and flat in the front.

For the petticoat, I actually made it out of curtains. Yes, it was a real Sound of Music or Gone With the Wind moment. I wasn’t planning on this, but then I went to Bed Bath and Beyond one day and saw these curtains hanging up (I believe they’re called Gypsy) and I was like “That’s a skirt.” Making the petticoat out of curtains was so much cheaper than buying that amount of fabric (because there is a lot) and I didn’t have to do all the gathering of the ruffles! I really wanted a ruffled petticoat because they’re beautiful and help avoid the dreaded lampshade effect (where you can see your hoop lines through your skirt) but I hate gathering so I wasn’t sure I had the patience for it. This solved all my problems! I also think it’s quite beautiful.

I could now run around my house like a poofy princess!

Love always,

Victoria

Past Projects: The Original Gown

After finishing my first ever corset, it was time to move on to the upper layers (and a petticoat). I made my petticoat out of a modern cotton/poly blend. Not historically accurate, but inexpensive for an young budding costumer. Once again, this outfit was made using the Simplicity 8161 pattern.

My helpful dress form Felicity modeling my new petticoat.

Having a dress form was very helpful for hemming this project as the bum pad makes it so the skirt needs to be larger in the back then in the front. This way, I could hem the bottom even with the floor. You can also get a nice friend to help if you don’t have a dress form.

Look at the huge bum pad! It’s like having a shelf back there!

A large bum pad or roll or panniers makes your waist look nice and small through the magic of illusion. Honestly, those colonial women knew what they were doing.

The overskirt is made just like the petticoat, just hemmed longer and made a pretty color.

This project also started my intense love for pleats. I love them so much. They’re gorgeous, and at least for me, much less time consuming than gathering. I now pleat everything I can.

Quick tip for using interfacing on a waistband. Waistbands are folded over, so you don’t need interfacing on the entire waistband, only the top or bottom half. If you put it on the entire waistband (like I did) you end having to sew through 2 layers of fabric and 2 layers of interfacing. When your hand sewing the waistband down this makes life not fun at all, so don’t do what I did.

The finished dress!

Soon came a bodice (it’s reversible!) and stomacher and she was done! It made for a great Halloween costume and it started my love for historical gowns.

Love always,

Victoria

Design a site like this with WordPress.com
Get started